1) To view an event that you created, press the View Events button on the Main screen
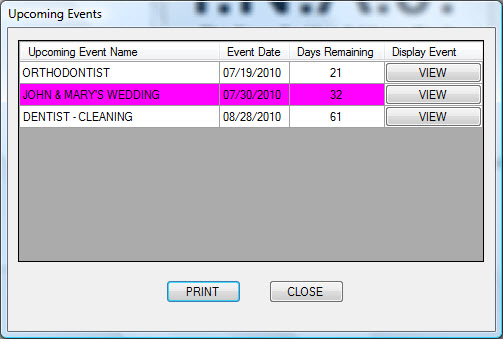
2) The Upcoming Events window displays the name of your upcoming events, along with their dates, and the number of days remaining until the event. White rows represent events that you will be attending. Purple rows represent events that you are hosting.
Click the VIEW button in the row of the event that you want to view.
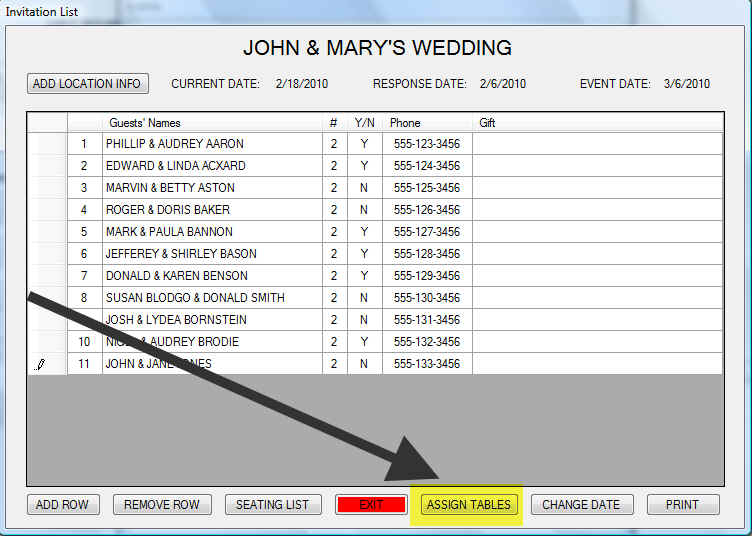
3) The Invitation List displays the names of everyone who was invited to the event and their phone number. Record whether they will attend the event or not, as well as the gift that they gave.
When you are ready to assign people to tables, press the ASSIGN TABLES button.
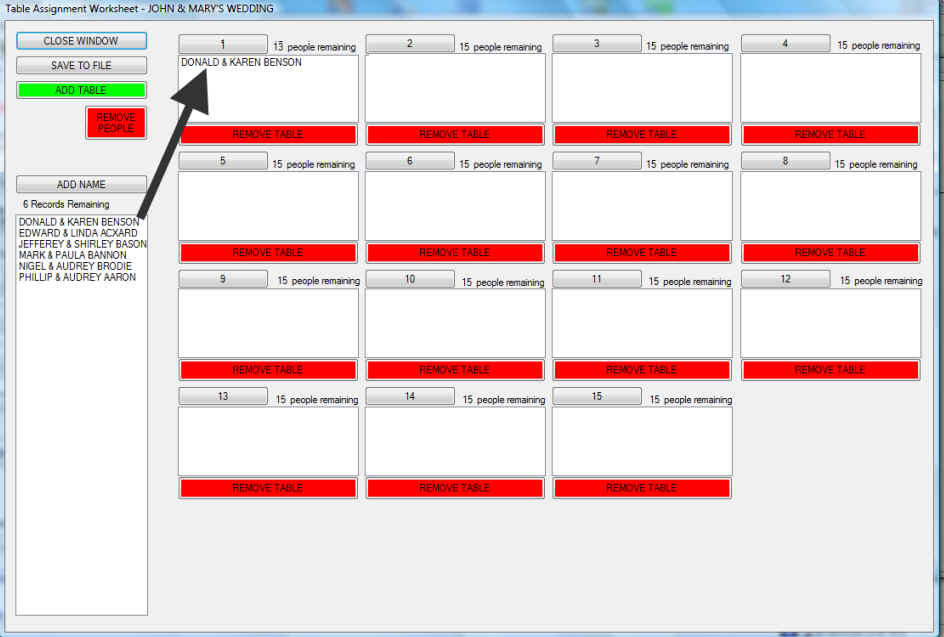
4) The Table Assignment Worksheet displays the names of everyone who responded that they will attend the event. Just drag and drop their names to the table where you want them to sit. You can have up to 20 tables and each table can seat up to 15 people.
5) Prior to the event, you can print table place cards so your guests know which table to sit at.